Daniel Norman was a member of that initial rush of '94 Doom fervor, releasing The Final Gathering as a three-map episode for the original Doom. Next, he converted the levels to Doom II and added another, before finally adding in one of the levels he'd released as an independent coda of sorts (Dark Side of the Mind) to make it a five-map episode. The final release as covered in Doomworld's Top 100 WADs of All Time is a bit of an odd duck that's split between different periods of artistic sensibilities, and truth be told, it's the later additions that earn it a place in the conspicuously hallowed halls of Doom's history.
It isn't really outlined when The Final Gathering takes place, but it seems to tell the story of another marine who is stationed on Deimos either before or around the time that all Hell breaks loose. Some weird shit has been going on beneath the base, specifically the tunnelwork surrounding the water treatment and recycling center. At some point, the personnel are ambushed, and manage to get out one damning transmission before going silent. You're on your way to check it out when a surprise attack wrecks the truck that was carrying all of your gear and supplies, with you being the only survivor. The later levels, which are tacked on after the fact, have you visit an enemy stronghold near the water plant and then visit what may very well be the root of the evil, deep underground.
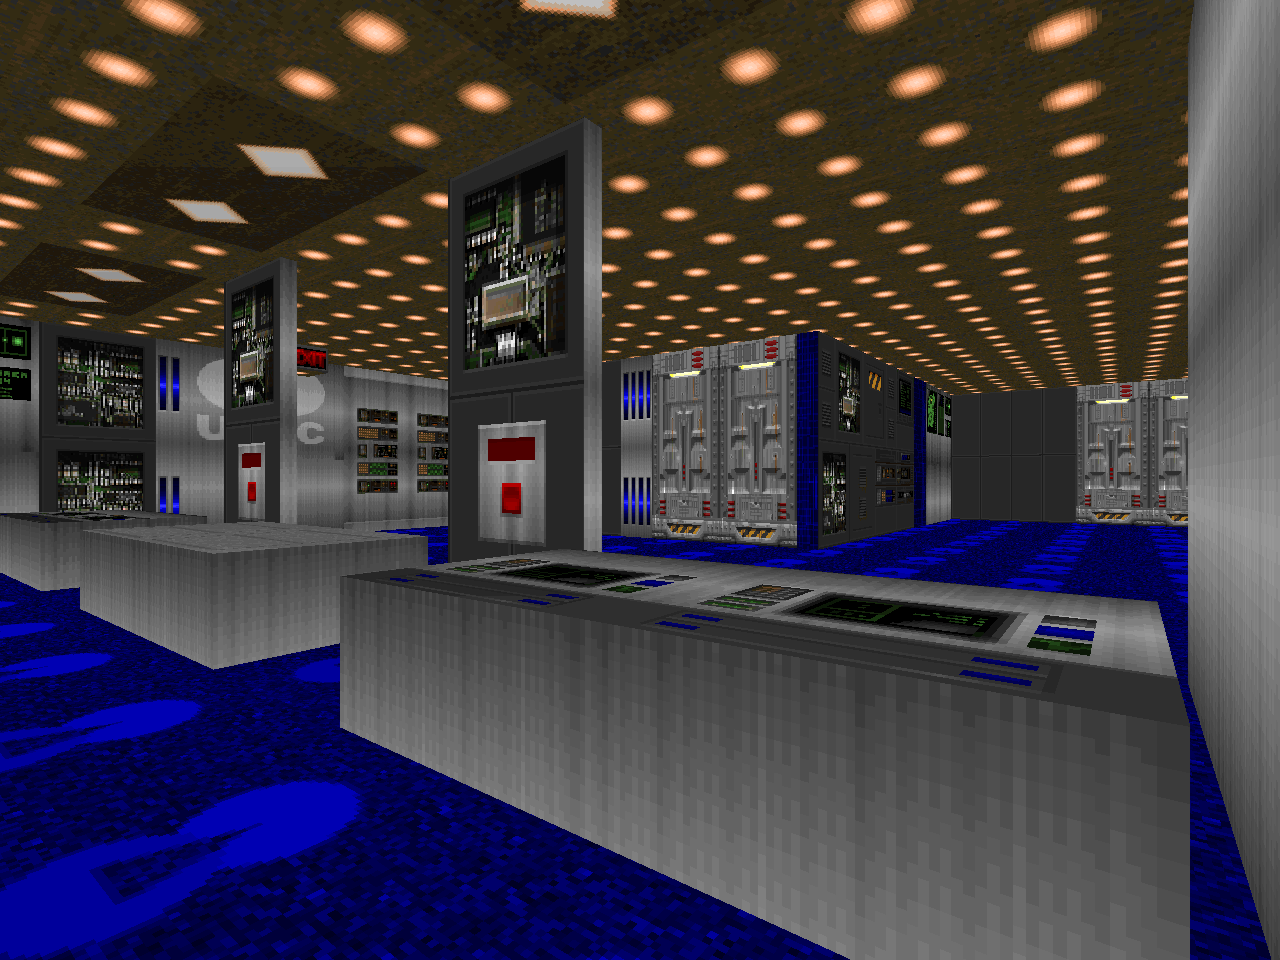
Daniel "Stormin" Norman isn't among Doom's most prolific authors, but The Final Gathering stands as a solid (if in some ways quite dated) collection of his work. MAP01 barely registers as a bit of a framing device where you ice a handful of baddies and roll on your way to the next level, the treatment plant itself. "Sewers" follows some of the unspoken rules of OG Doom mapping. For instance, the map kind of looks like a futuristic gun. It's still all right angles and square rooms, though, and even has some grid 64 tunnels to squeeze through. MAP03 is dominated by an enormous settling station, which if nothing else gives it one great hook as a map, if not a whole lot to play through.
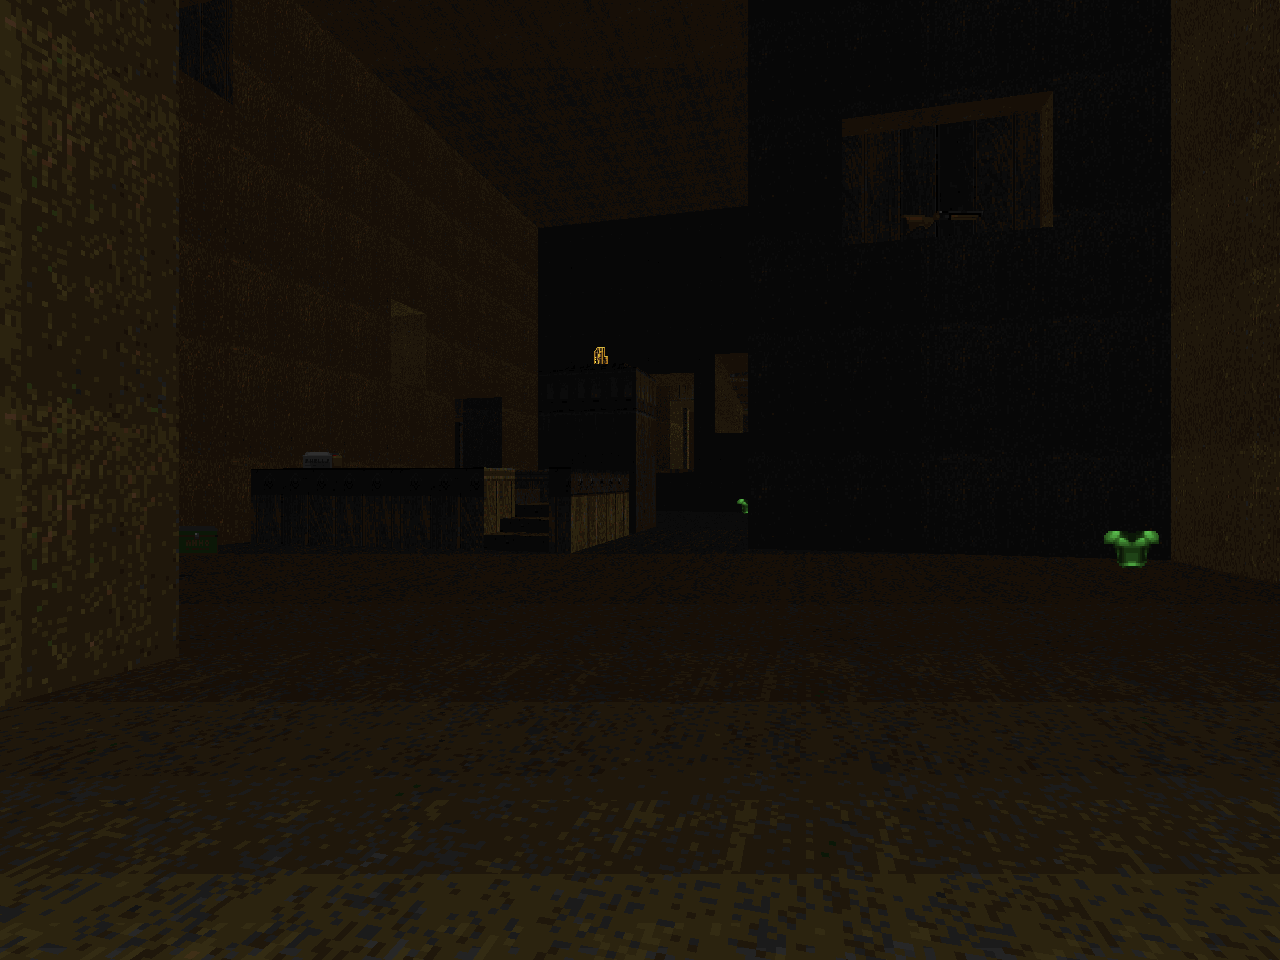
Things change with MAP04. The stronghold still has plenty of square rooms but there's a lot of interesting architecture and ways that the layout changes and opens up as you slowly pick it apart. It's tough to navigate but very rewarding, fitting firmly within much of the levels that were released in '95. "Dark Side of the Mind" is his magnum opus, though. It's medium-size and has a fantastic, organic layout and an aesthetic sense that belies almost everything that came before, and has some neat tricks up its sleeve, like a rare use of the arch-vile ghost bug in the wild. Oh, yeah; make sure you're using a source port that correctly emulates this behavior. ZDoom did not originally have compat flags when I wrote this review, but it does now. Thanks, Marisa!
GATHER2 is a WAD well worth playing. The original three maps tell a coherent story and, while not amazing, are solid levels. The Doom II exclusive maps are interesting romps with MAP05 worth the price of admission alone (though you could just download it separately if you have something against '94 WADs). If you like the cut of Daniel's jib, you might try the more humorously-inclined Shrine of the Warriors.


THE FINAL GATHERING
by Daniel "Stormin" Norman
by Daniel "Stormin" Norman
| MAP01 | Water Treatment Plant |
|---|---|
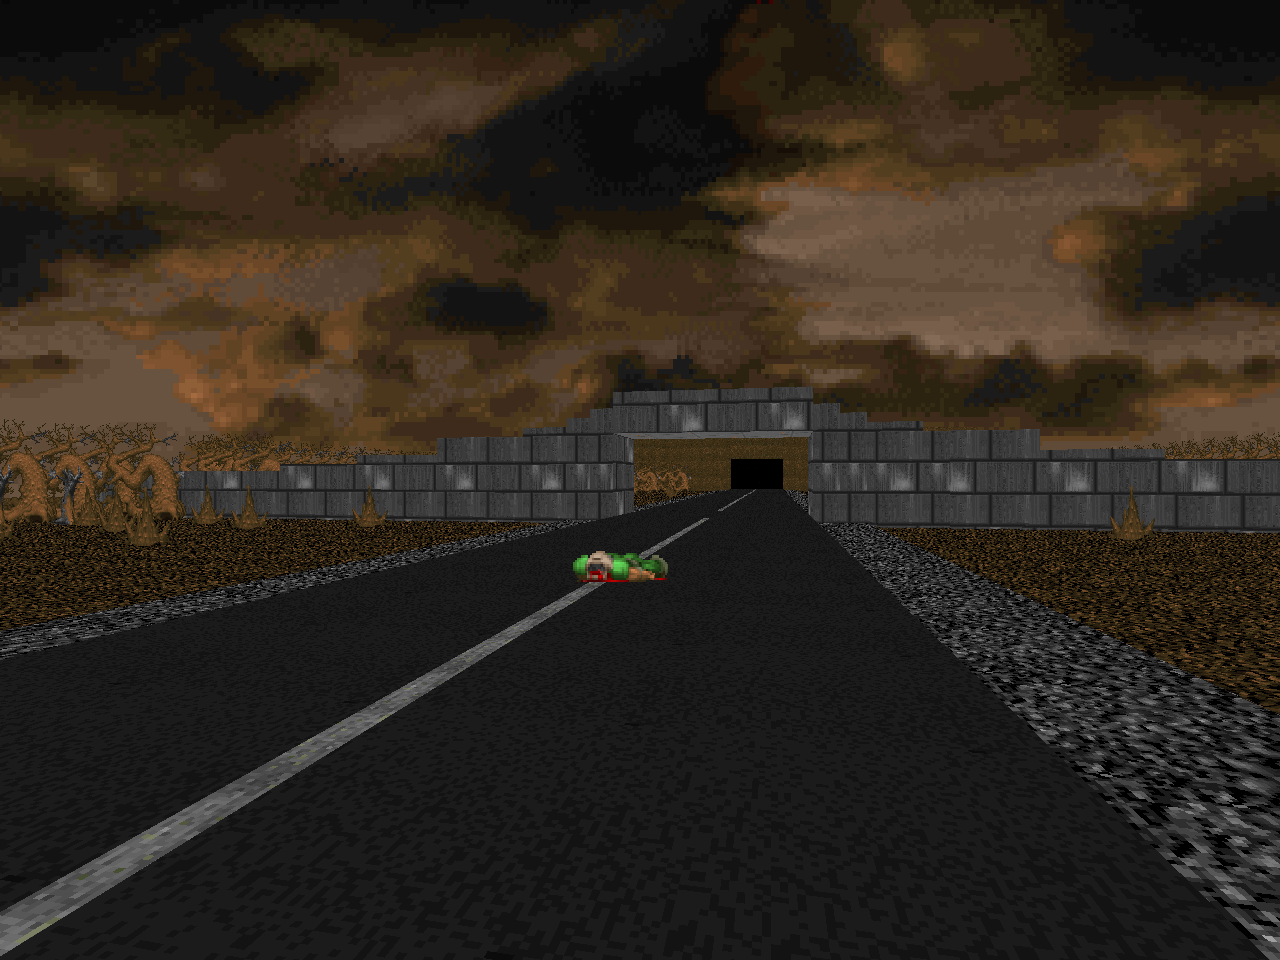 | Very simple layout. It's a long stretch of road with mostly zombimen and a few imps, exiting out of a tunnel that's clearly self-destructing. The first section has a large arch and trees on either side. The second section enters a tunnel which has a side-room with some quasi-realistic furnishings. The final section has a couple of "buildings", nothing impressive, with the road ending at a solidly shut gate. There's a shotgun squirreled away, somewhere, not that you need it that badly. |
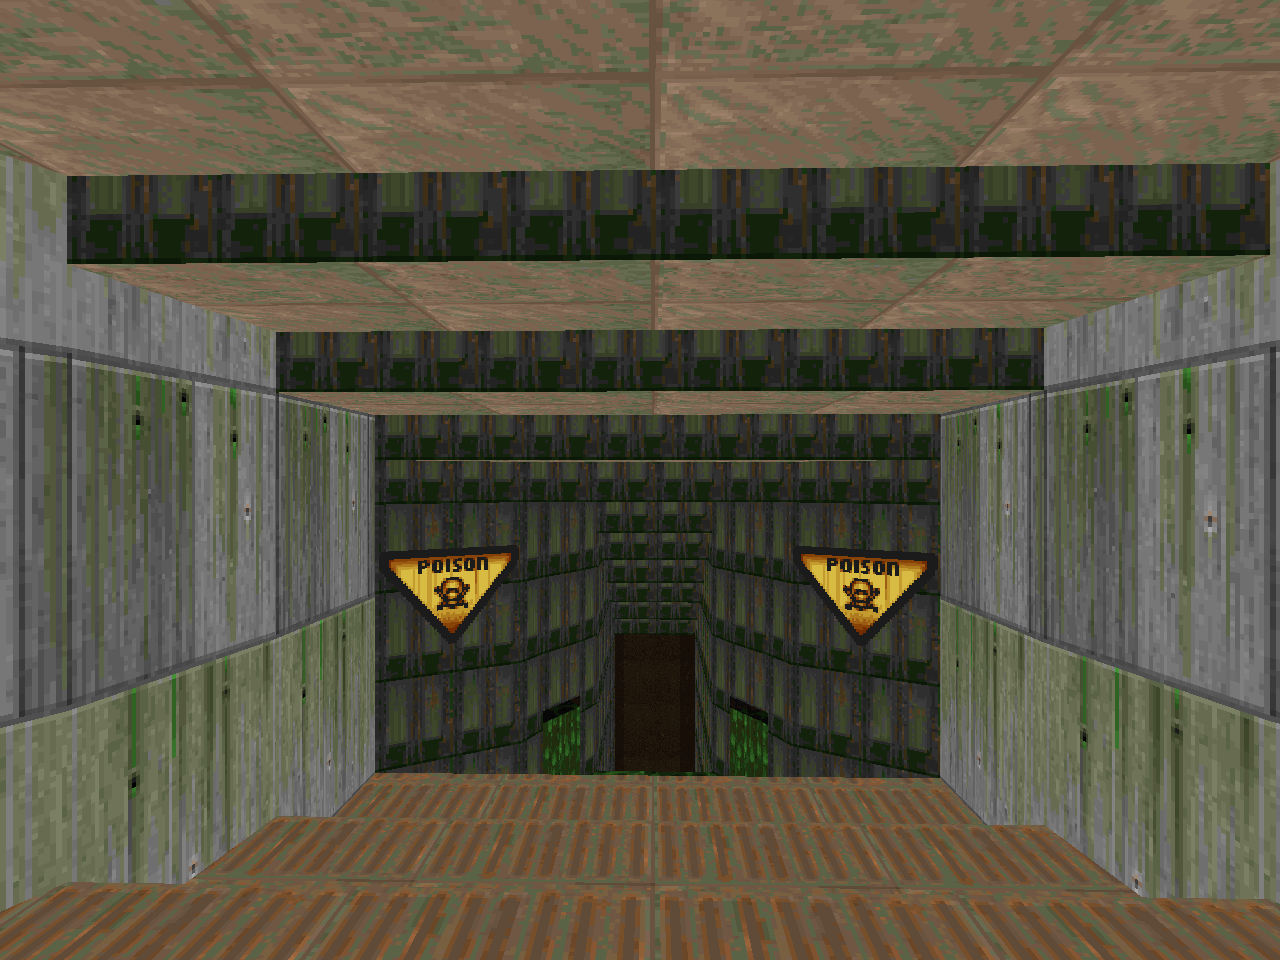
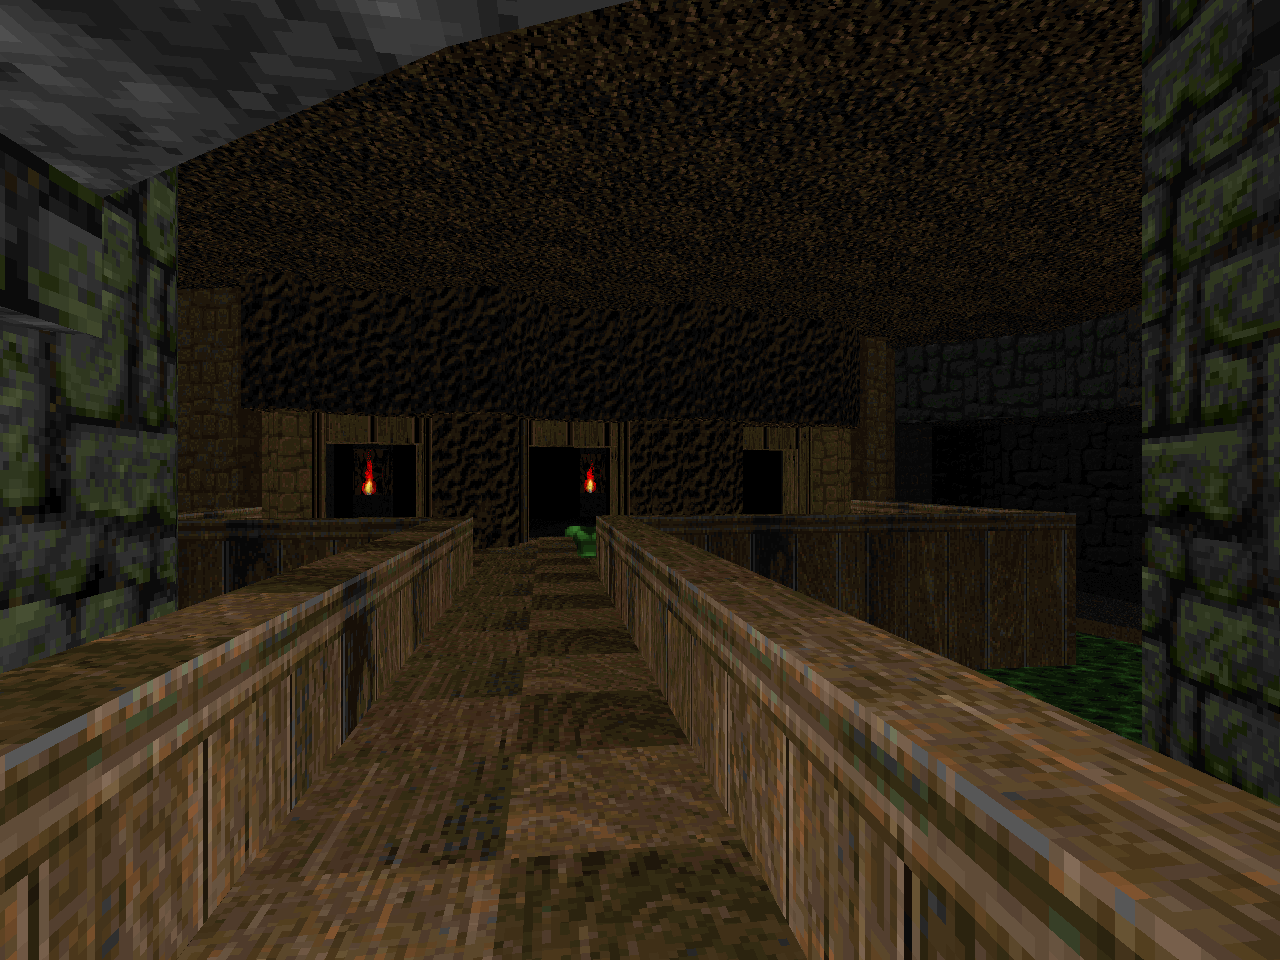
| Sewers | MAP02 |
|---|---|
| Considerably larger map based around a tiered elevator. There's four different branches of the level you need to explore and thankfully there's not much backtracking between the different floors, just the run back to the exit. The first floor is pretty short and has a nice gimmick with a bunch of zombimen, you lowering them into the room on waves with pillars. The red key wave is a long, straight tunnel sequence with a nice ambush when you reveal the key paired with a pretty rude crusher trap. I can't see crushers for shit. The yellow key wing is a romp through the sewers. There's enough rad suits around and a few nasty traps, including a pitfall and a barrel room in the most literal sense. The final wing is fairly unremarkable, it's just some hitscanners (including commandos) in a techbase. Much better than MAP01, but the sewer section is just a little too obtuse, with a semi-hidden exit. Also laughing at the super-long elevator with the hell knight. | 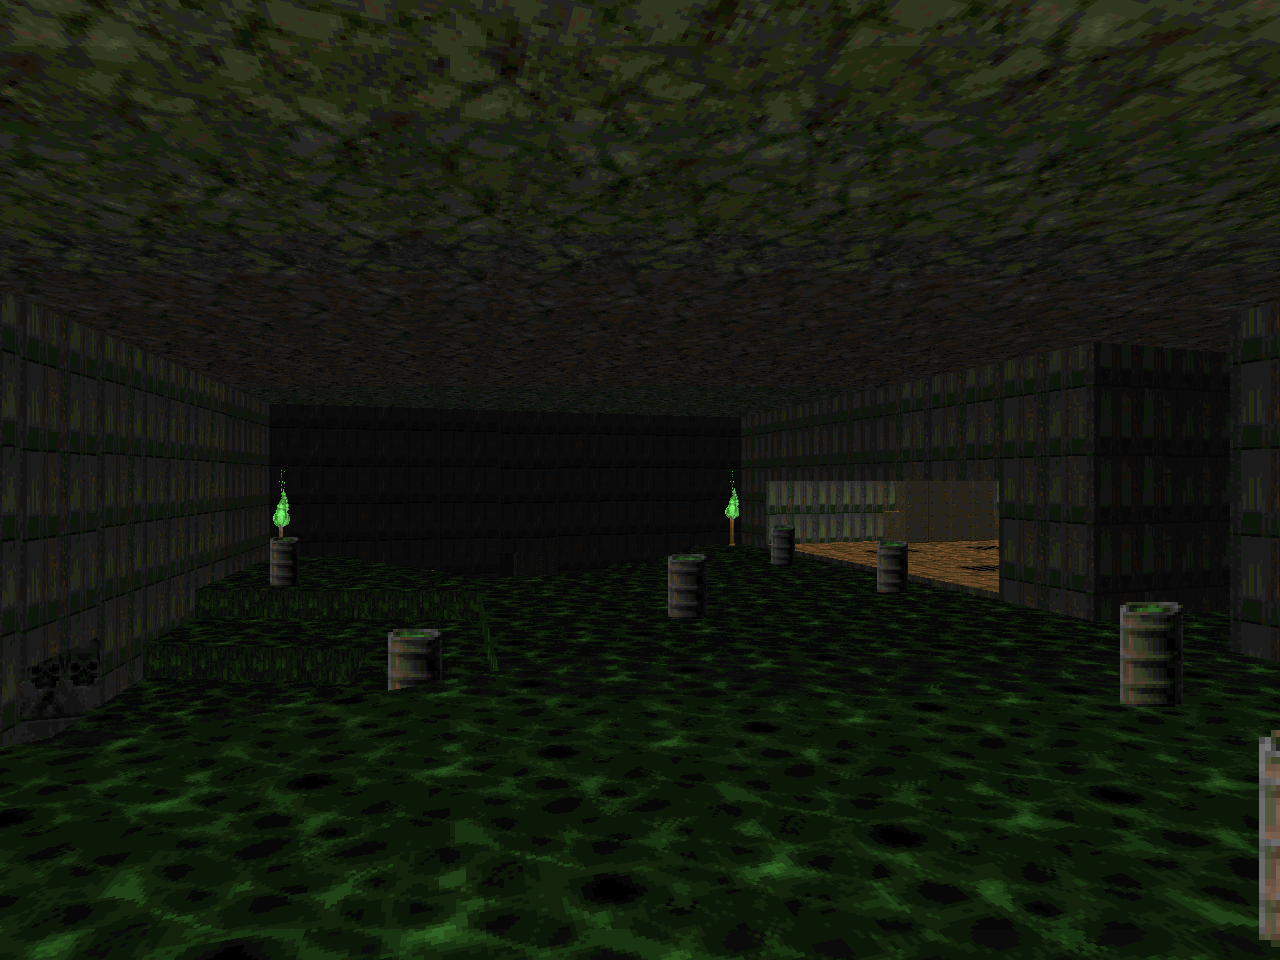 |
| MAP03 | Caverns |
|---|---|
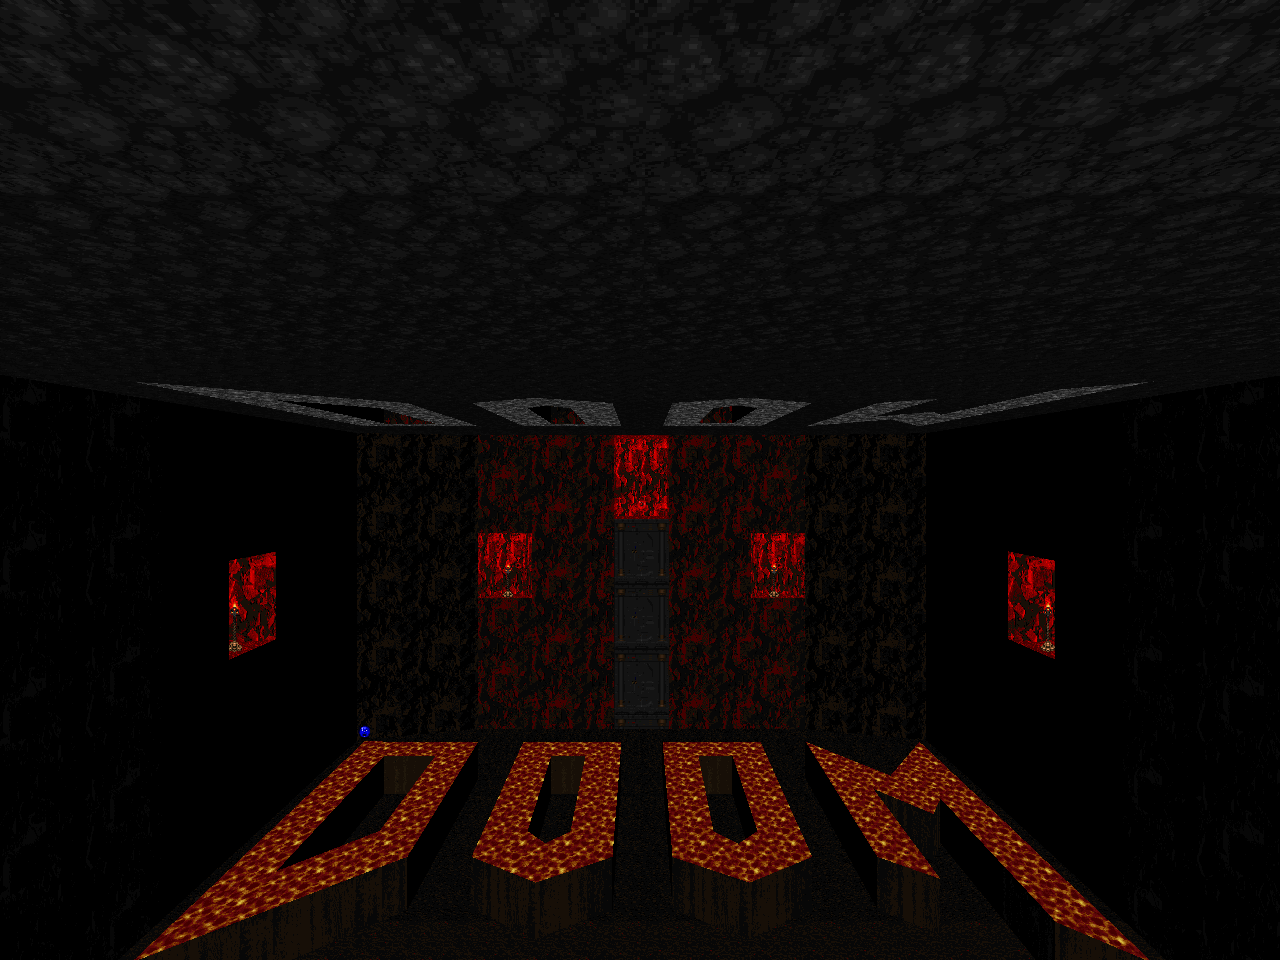
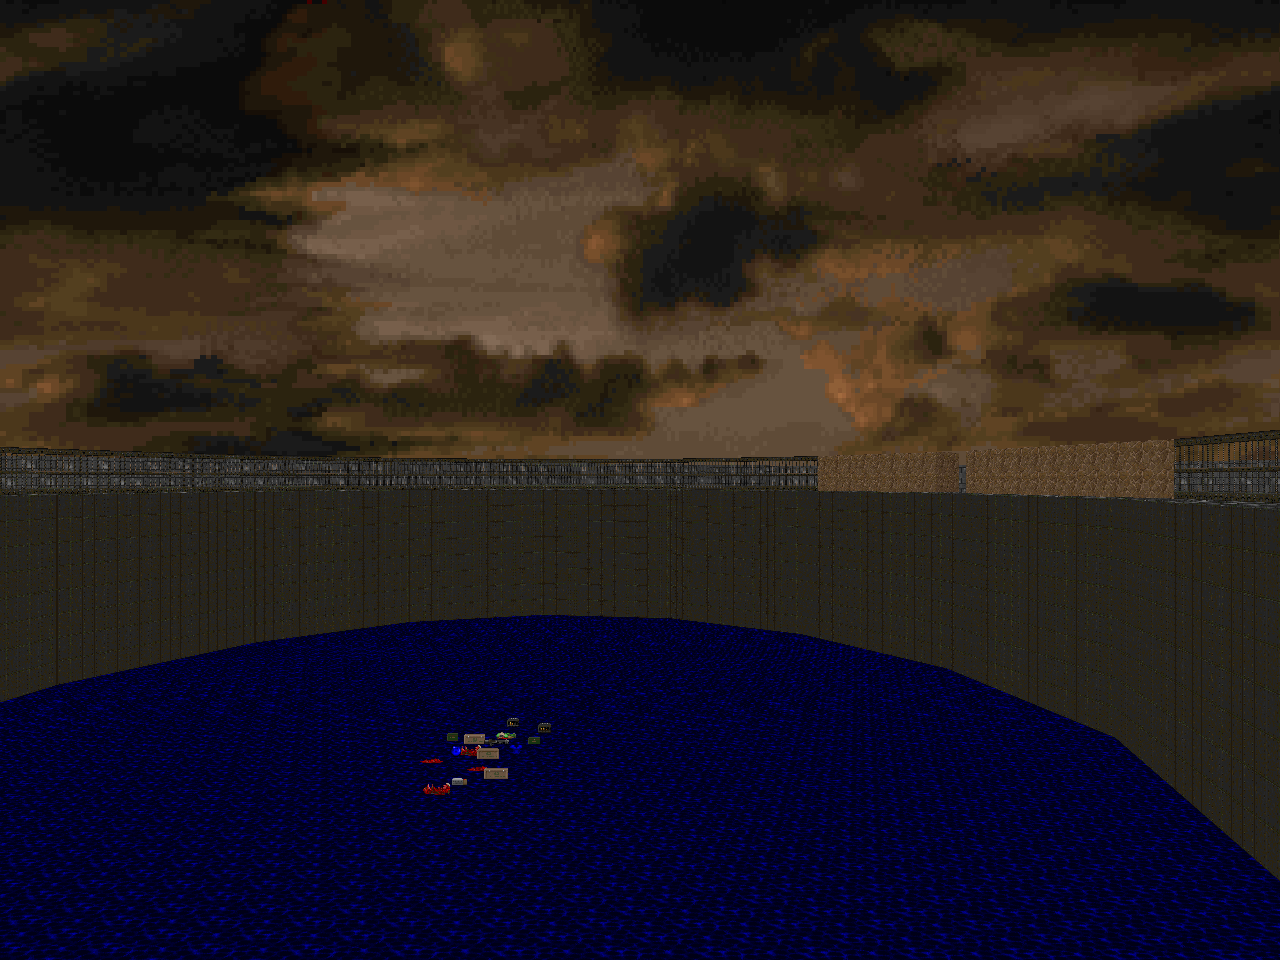 | Huge outdoor map with some interesting encounters. Don't forget to grab the plasma rifle on your way up. The battle in the reservoir is all infighting and actually pretty neat. The features on the ground outside are also entertaining. Every pillar has a lowering switch and there's a neat sequence where a row of shotgun guys and a revenant rise up from behind a barricade. After that it's the exit... unless you decide to access the secret but fairly unremarkable abstract Hell area. Completing it unlocks a very amusing tribute battle with a Cyberdemon. It's worth playing this WAD just to see the room for the first time. |
| Enemy Stronghold | MAP04 |
|---|---|
| Exploratory. It's a sprawling, brown, circular superstructure whose interior branches off into four distinct directions. On the outside are numerous arachnotrons, hell knights, cacodemons and even a Spider-Mastermind. The beauty is, you can tackle this level pretty much any way you want to. On the other hand, you're bound to get lost at some point. There's even a dual-level puzzle contained in the center room akin to the gimmick of MAP02, though you won't realize it until you have to exit the level. The blue key is one major issue. If you mess up the jump, you're pretty much stuck and dead. Another very big issue is the red key, one of the most pointless jabs at the player I've seen in awhile. It's located in an alcove on the outer rim of the map and won't open until you access the red key door which requires a bit of footwork. Once you open it up, you've got to run the whole sequence again. On the positive side, I really enjoy all the infighting and there's so much ammo when you open up the side rooms that you can really go to town. My favorite wing I'd say is the yellow key wing, though squeezing through all the geometry can be a chore. | 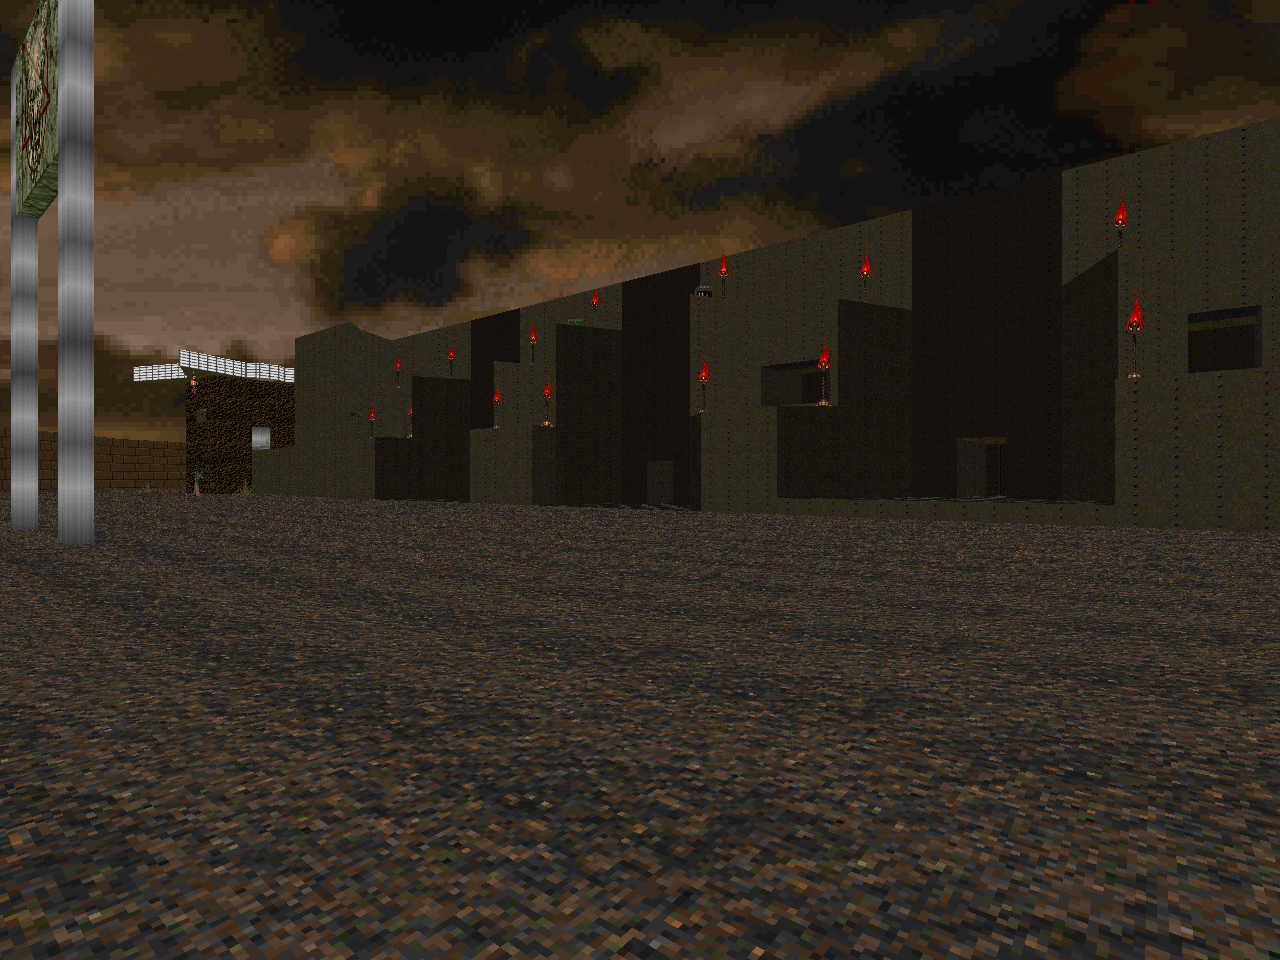 |
| MAP05 | Dark Side of the Mind |
|---|---|
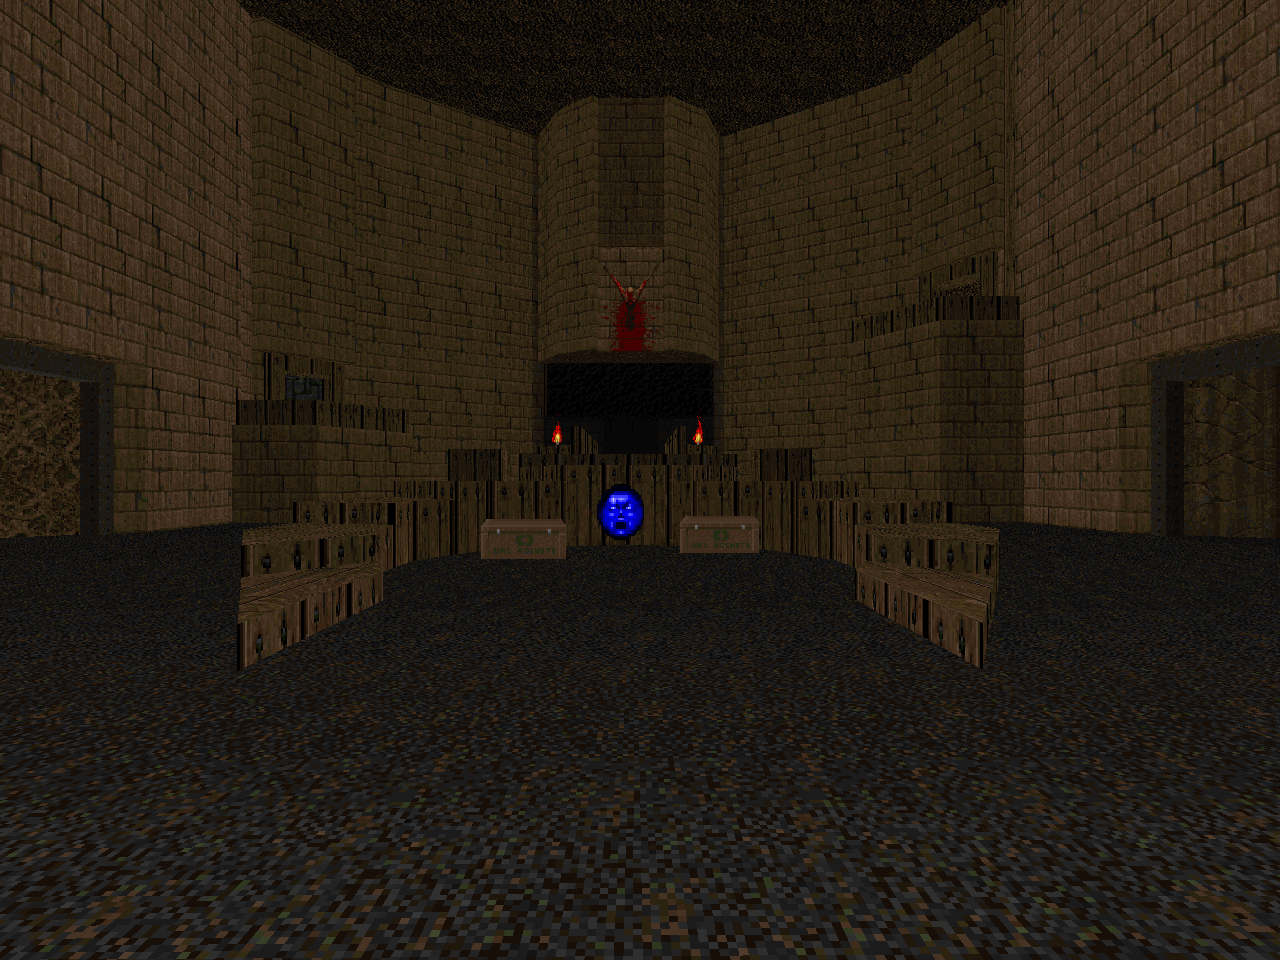 | Very cool infested caverns-style level with an excellent entrance hall. I'd say with the layout and everything that this is Norman's best map as far as aesthetics go. Difficulty-wise he's not afraid to dip into the tougher monsters but the layouts, excepting perhaps the opening and the chaingun snipers, really set the marine up for victory. The exit, surprisingly, is part of a somewhat obscure switch puzzle that I just thought was a clever bunch of unmarked secrets. But no, do your job right and you'll expose Romero's head, who is rather unable to defend himself. Just save your rocket ammo, you're gonna need it. |
This post is part of a series on
Doomworld's Top 10 WADs of 1995
Doomworld's Top 10 WADs of 1995
| Fava Beans | Infinity |
| Boothill / A Fistful of Doom | H2H-Xmas |
| The Final Gathering | Artifact |
| Nostromo's Run | Obituary |
| The Enigma Episode | DWANGO5 |
No comments:
Post a Comment