The Talosian Incident is a 20-map megaWAD for
Doom II by Black Star Coven, an organization consisting of a number of
Doom authors who intended this to be their farewell to the
Doom community, in search of browner pastures. From what I can tell, it was supposed to be longer (probably the full 32 maps) but, well, here we are! Most of the maps are courtesy of John "Gestalt666" Bye and Malcolm Sailor (eight and nine, respectively) with a few other authors contributing one map each (including a collaboration with Ola Bjorling), and almost all of the new, atmospheric music by Bye. As an interesting sidenote, few of these authors would actually end their
Doom mapping careers with this release.
The story is pretty standard. You're a marine on a ship which has been sent to investigate a planet deemed essentially derelict by the UAC. When the craft makes orbit, things go catastrophically wrong, and a series of unheralded malfunctions kill both the engineering crew and everyone on bridge except for you, forced to land the ship on your own. You attempt to send a distress signal, only to find something jamming it. To preserve the lives of all the crew members still in suspended animation, you set out to find the source of your misfortune and destroy it.
TALOSIAN is a mapset that attempts to tell a story. Each of the maps highlights a very concrete portion of the main character's journey on Talosian's third planet. Much of the adventure takes place underground, in earthen caverns and the hidden dens of the nefarious civilization responsible for your crash landing. With few exceptions, each level is linked to the next by exits / entrances, until the series comes full circle and you're back where you began. Stylistically it hits a number of notes, dependent upon what map you're playing at the time. Bye favors moody, exploratory affairs with plenty of hoofing about while Sailor's maps are short and to the point, with some knockaround fights, but nothing on the scale of his
Chord series. The other authors have their own idiosyncrasies, but as mentioned before, this WAD is pretty much all about Bye and Sailor.
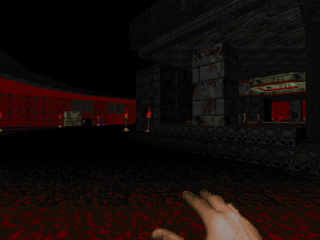
If there's one true common element that ties these maps together, it's the authors' attention to lighting (well, except for Daniel Huff's MAP03).
99 Ways to Die is a good reference for how well you can imitate realistic lighting with sector magic, but
The Talosian Incident showcases it on a greater scale and with noticeable contrast, which helps the detailing stand out that much more. While actual detailing and map features might fall flat every now and then, you may hardly notice when confronted by the illumination stabbing into the inky darkness.
Difficulty is a bit on the challenging side, but it's not that rough and the maps are rarely long enough to warrant consideration. I should also mention (again)
TALOSIAN's soundtrack, a series of atmospheric tracks composed by John Bye, with one interjection from David "Tolwyn" Shaw, I believe hailing from
Icarus. They're a neat departure from the typical tunes, attempting to get your pulse pounding via a different avenue, which given the lighting and smaller sizes is quite appropriate. I'd recommend
The Talosian Incident, with bonus marks if you enjoy WADs that tell contiguous stories, shorter maps, or Malcolm Sailor. Really, it's worth checking out for Sailor's contributions alone.


THE TALOSIAN INCIDENT
A REQUIEM FOR DOOM
by Black Star Coven
| The Transport | MAP01 |
|---|
| by John Bye |
|---|
| A tense, short opener that takes place on the ship in which the story begins. Source ports offering monster tallies will ruin some of the magic, eliminating much of the mystery of the eerily deserted spacecraft. It's got a bridge, crew quarters complete with cryo-sleep chambers, engineering, a mess hall, and an armory, though only in a very basic sense. Egress is simple; getting 100% kills, not so much. | 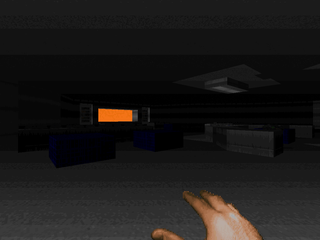 |
| MAP02 | Desolation |
|---|
| by Malcolm Sailor |
|---|
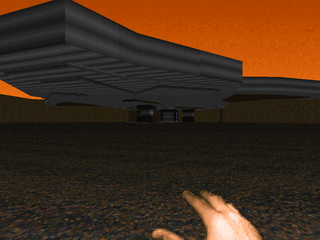
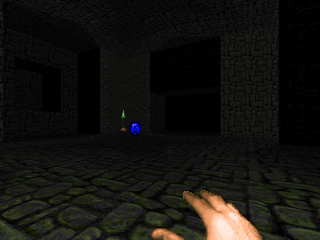
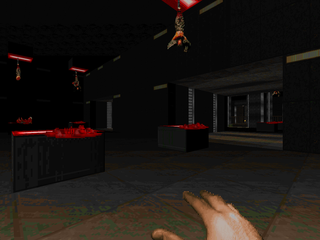
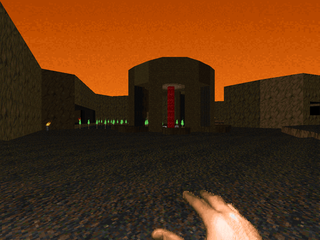 | Sailor opens up the real action with a map set on the planet's rocky surface. While he paints with a broad brush, he has some real visual highlights, like the underside of the ship, the bloodfalls, and the curious blood tower / teleporter construction. Difficulty is a little tricky, with Tyson / scavenger enthusiasts having the most fun. You'll eventually get access to both the normal and super shotguns, but until then you can practice punching and sawing imps, demons and lost souls (and maybe a baron). Highlight encounter for me would probably be the berserk ambush. |
| The Cliff Top Fort | MAP03 |
|---|
| by Dan Huff |
|---|
| Well of course the blue key was located in a two-secret deep compartment! No, I'm not bitter. This is a fairly large, outdoor base-style map filled with lower-tier enemies and some pain elementals to liven things up. Your weapon of choice will likely be the SSG. The map isn't difficult by any means, excepting maybe a slight lack of health and armor. It's also pretty bland, with some of the areas like the large outdoor section or the circular silos to the north looking like they could use a little sprucing up. It's got a few memorable moments, though, like the nested tower section to the south (which drags on the way back down) or the journey into the unknown behind the red key doors to the east. | 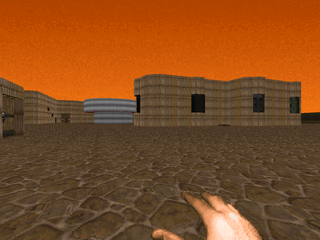 |
| MAP04 | The Chapel |
|---|
| by John Bye |
|---|
 | Short but pretty cool underground map. It's got a tricky pistol start as you have to punch through imps and hitscanners before you can get ahead on ammo. Once you make it to the actual chapel, though, you'll be good for the rest of the map. Lighting is superb, especially inside the artificial portions of the level, and the caverns are passable with some care taken in landscaping to keep them from being boring. Some neat traps, but all the cool fights are in the confines of the chapel. I dig that underground river of blood, though. It's a great visual. |
| The Fort – I | MAP05 |
|---|
| by John Bye |
|---|
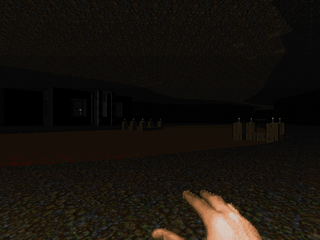
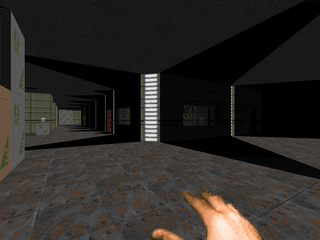
| This map takes place entirely underground, and while the lighting is once again quite beautiful, the architecture leads much to be desired. So much of this map is bland, earthen corridors with scant few enemies to liven them up, leading to more branching corridors. The techbase portion is a welcome change, if only due to a different texture scheme. There are a few interesting fights and secrets seeded about, however, including a long, switch-based sequence that will take you all over the base. | 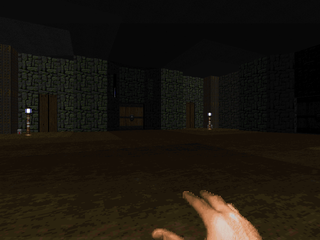 |
| MAP06 | The Fort - II |
|---|
| by John Bye |
|---|
 | Up to a certain point, this is MAP05 in reverse, with some sections sealed off and new monsters and armaments laid down to facilitate your hasty egress after blowing apart the Fort's computer core. Thankfully, it's a bit more streamlined, with all the new stuff taking place in the hastily-reached northern segment of the map. It's a perfect stylistic match to Bye's previous effort (go figure) with excellent lighting and slightly less mind-numbing architecture. It actually manages to look rather smart with all the stairs, and there are some decent (but not memorable fights), like a few arch-vile battles and the obligatory mancubus crossfire. |
| The Church | MAP07 |
|---|
| by Malcolm Sailor |
|---|
| Until the inner walls of the central chamber lowered, it completely slipped my mind that I was playing a map with "Dead Simple" tags. Sailor's second level looks and plays quite well, with plenty of punchy gameplay in a once again dark, underground setting. The opening is a little sketchy as you're firing a shotgun down into a pack of spectres, but the rest of the map is pure gold, especially for SSG lovers. Lighting and detailing keep things interesting without being obtrusive, and the central fight is quite a start if you don't see it coming. Very nice. | 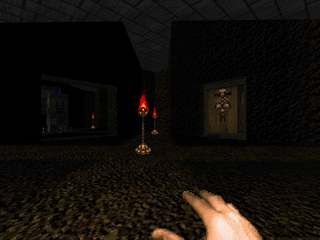 |
| MAP08 | Focus |
|---|
| by Ola Bjorling and John Bye |
|---|
 | A short but gorgeous (and semi-challenging) outing with Bjorling's only appearance. It's got a very simple, symmetrical layout in the brown brick and metal style, but the total package of, once again, lighting and attention to minor detail plus the encounters makes for an excellent foray. I particularly like the northwestern arch-vile room. It's a great series of reveals, though I'm not fond of the obscured chaingunners. The opening can get a little rough though, especially if you walk in devoid of armaments. |
| The Palace | MAP09 |
|---|
| by John Bye |
|---|
| Basically a toned-down version of MAP05 / 06 with less interesting encounters. The western section has a much tighter series of branching hallways but apart from some neat little bits of lighting the map is unfortunately boring. My standout fight is the battle in the largest western room, where shotgun guys continue to appear from nowhere while you're dodging demons. The easternmost room has some potential but it's too large, too empty, and too uniform. |  |
| MAP10 | Hardware |
|---|
| by Malcolm Sailor |
|---|
 | Sailor returns for a small, intimate level in something resembling a storage facility. There are crates, pipes, and an exposed balcony that overlooks a ruined chasm. As usual, difficulty is a step up from the other maps, focusing on manipulating the player's arsenal vs. the scant few demons included. Favorite moments include a spectre ambush in the eastern portion of the map and another tricky bout with spectres and an arachnotron while hell knights throw plasma at you from the far side. Pretty fun stuff. |
| Software | MAP11 |
|---|
| by Malcolm Sailor |
|---|
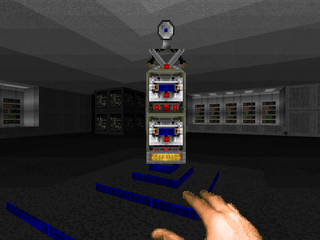
| Another small map from Sailor, this one with a heavy technology theme. It's a bit rough, with restricted health and ammo and a few segments that are tough to speed through. Thankfully, Sailor starts you off with the SSG. The northern path has revenants lurking in nearly every corner and some tricky cage maneuvering while the room behind the blue door has a pitched fight involving an arch-vile and a rocket launcher secret that needs some lateral thinking; otherwise, you won't get any use out of your boom tube. The lighting in the central hub is quite striking, as well. | 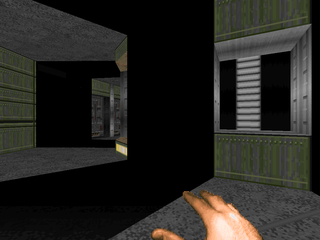 |
| MAP12 | Vulcan |
|---|
| by Patrick Martin |
|---|
 | Very intense techbase map centered around a glowing core. The northern section houses what might be more traditional rooms / offices while the southern has a nice warehouse row with callbacks to "The Focus". I call this map intense because you start out under pressure and rarely get out of the hole, with one of the first big surprises being a horde of cacodemons that emerges from the core. Partner that up with a revenant sandwich and nasty chaingunner trap and a final lights out battle where you have to deal with a baron or two while being harried by an arch-vile who lurks outside in total darkness and you have some primo action. |
| Get the Hell Out | MAP13 |
|---|
| by Malcolm Sailor |
|---|
| An intermediary arena-style map with a very tense atmosphere. At some point after jumping into the dark pit, you'll unleash two identical packs of revenants, arch-viles and arachnotrons. You don't need to kill them all to escape, but if you want to be able to live with yourself, it might be a good idea. The fight isn't too particularly tough, it's just a matter of getting the sorcerers to expose themselves via infighting so you can cash them in. The rest of the map isn't nearly as tough, just some neat hallways with a few chaingunners and an instant death trap you'd have to be stupid to trigger. Cool stuff. | 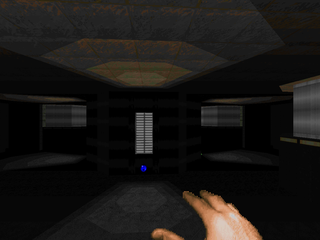 |
| MAP14 | Beneath |
|---|
| by Malcolm Sailor |
|---|
 | Short but interesting dark and moody underground map composed mostly of caverns with a few intermediary bits of artificial structures. What this map really needs is a rocket launcher; unless you carried one over from the previous map, all 73 bits of ordnance will go to waste. As it stands, it's mostly a super shotgun affair, with some tricky bits like an arch-vile you'll have to blaze past given the open range. My favorite segment has Sailor all but begging you to use two mancubuses as your own personal turrets to take out the enemies on the other end of the map. |
| Solvent | MAP15 |
|---|
| by Brian Owens |
|---|
| Owens's sole contribution is rendered as a stunning silver techbase. Well, most of it. The eastern segment is a welcome return to brick and metal. It's all just a shade tough, with a general lack of health and armor throughout the map coupled with a lot of exposure. The lighting is great, of course. The solid silver just isn't that engaging. This map's biggest problem, though, is the amount of backtracking to be had. Otherwise, the fighting is quite nice, including a room fully stocked with demons (which can turn into quite a panic trap) and the central metal room providing some opportunities for sneaky monsters. | 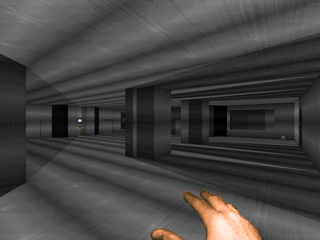 |
| MAP31 | Inferno Revisited |
|---|
| by Malcolm Sailor |
|---|
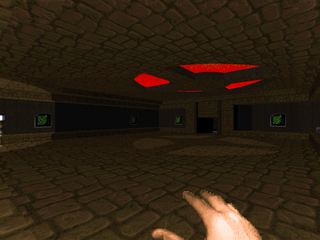
 | Sailor takes a sharp left turn into green marble, red brick and brimstone, in a map where the player introduces almost every encounter to the map via a switch. It's all SSG, so get used to that rhythmic clicking as you tackle several hordes of demons, the WAD's first Cyberdemon, and a wave of arachnotrons punctuated with an arch-vile you were waiting for the whole map. That's only partway there, though. If you want to get to the super secret, you'll have to do a little sleuthing and conquer a short blood maze reminiscent of "The Courtyard". Very dark and very fun. |
| Portals | MAP32 |
|---|
| by Malcolm Sailor |
|---|
| This bit is an altogether bizarre affair where Sailor presents you with several different portals, taking you to different areas. Well, one of the portals actually ends the level prematurely, which is great for speed but bad for completion. If you want to access the level's secret exit, leading to a peculiar seal, you'll have to tackle the other two teleporters, taking care to off the green marines bearing Quake logos. One of them features a crowd of imps worthy of Hell Revealed's "Knockout" while the other is a more traditional cavern jaunt with some toughs, including an arachnotron fight that could get messy. It's actually a neat little scenario, all told. The floating wall textures that signal the portals are deliciously lo-fi. |  |
| MAP16 | The Canyons |
|---|
| by John Bye |
|---|
 | Short map that starts at a canyon fork. You'll need to conquer the north stronghold before you can approach the south. The canyon is quite large, dominating the map despite containing no monsters except what happens to wander inside. It also houses a secret anyone starting with a pistol needs to find, or you'll go insane trying to clear it. Lighting is very nice, but it's a Bye map so there's not much else to look at. The northern fortress looks pretty cool, I'll admit. The true toughest encounter here is simply getting into the canyon in the first place; there's a full squad of monsters you have to sneak attack with your pea shooter. |
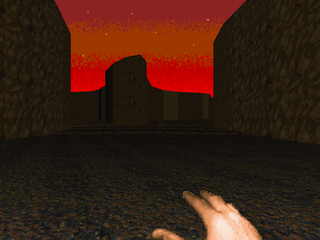
| The Great Outdoors | MAP17 |
|---|
| by Malcolm Sailor |
|---|
| A very cinematic map that puts you in a time pressure situation. The bridge to the other side, back to your spacecraft, is slowly rising out of the muck while a couple boss shooters fill the map up. To make matters worse, when you do return to your ship, you'll find a full cadre of Cyberdemons parked outside, waiting for your ass. While Brian "Anima Zero" Nesser proved that it's certainly possible to get a full 100% kills here, I declined to push my luck given my relative lack of boom and vaulted past them to hit the elevator button. I'd like to see more end maps like this. Well, minus the hojillion Cyberdemons. | 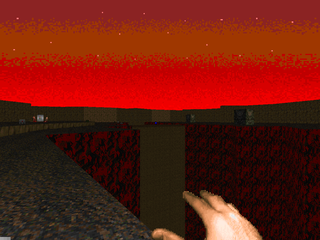 |
| MAP18 | Hi Honey, I'm Home |
|---|
| by John Bye |
|---|
 | So, you're back on the ship. Turns out the Cyberdemons outside weren't the only demons interested in your wings! So, the ship is now infested a la Icarus and it's up to you to clear the bastards out. While Bye reuses essentially the same map layout as MAP01, he's used locked doors and such to corral you and your opposition. You'll be frantically running around looking for switches to press. Well, there aren't any. Hint: Remember those useless tech panels in the access tunnels? Fighting is cramped and sometimes dangerous. The mess hall enjoys one of the nastier encounters, while the infested bridge has a fitting (if restrained) finale. |


No comments:
Post a Comment